
If you are like me, your collection of hats has probably grown a bit in the last few seasons due to the latest trends offering so many fun and cute options. Hats can complete any look and are often the one thing that truly sets off an ensemble. I know I have my favorites that I reach for when heading out the door all summer long. Hats present their own set of potential annoyances. From storage problems to a poor fit, the struggle can be real – and I am here to dish out a few of my favorite hacks to make life a bit easier!
(Did you miss my Eugenia Kim Style Hat Tutorial? Make your own HERE!)

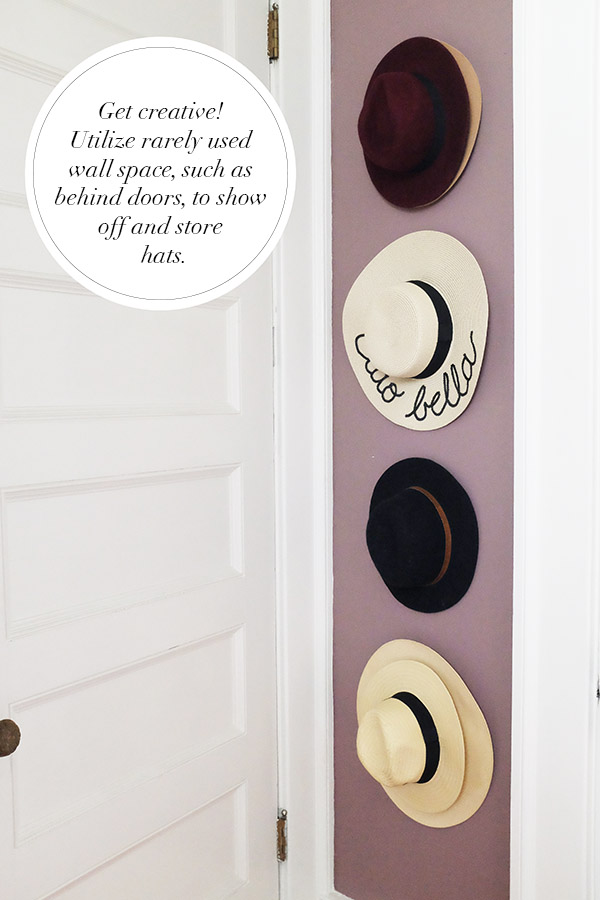
Because hats are such a staple in my wardrobe, they were starting to take over my closet. They were sitting around and always in the way. They were getting smashed, damaged and honestly becoming a nuisance to store. I finally had a moment of *slight* brilliance and thought to utilize some unused space in a rather inconspicuous location!
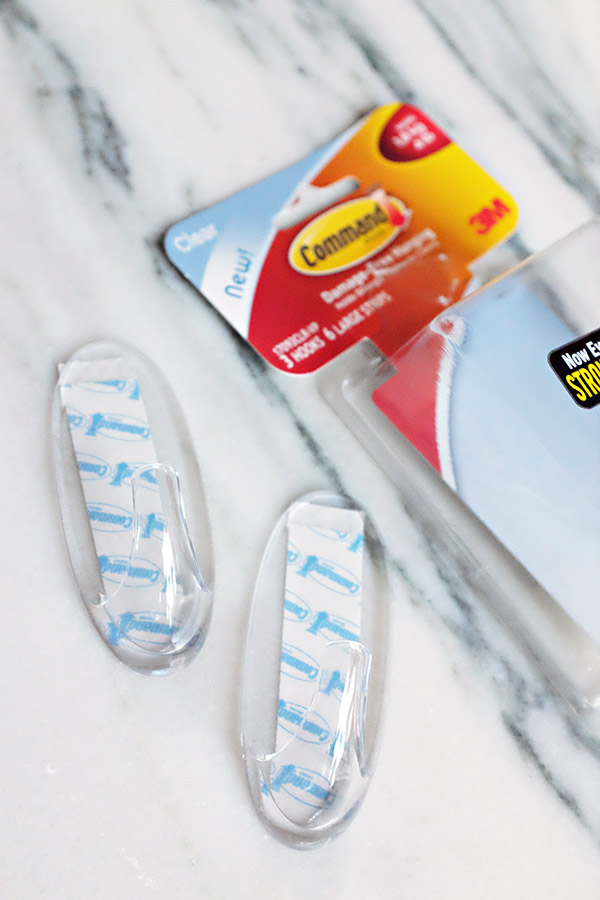
Rarely do we do anything with the strip of wall space behind our doors. I picked up some large clear, Command Removable Adhesive Hooks from the store and spaced them out equally after using my hats to measure how much space was needed. This way, if I ever need to make changes, my walls don’t get damaged. It worked perfectly. It created a clean and organized look, as well as quick easy access to styles on my way out the door! Important to note: I did keep the hats closer to the door hinge so that when the door is open wide they are less likely to get smooshed.
Now I love looking at my little collection. They even hang well with up to 2-3 stacked on one another, which saves even more space.

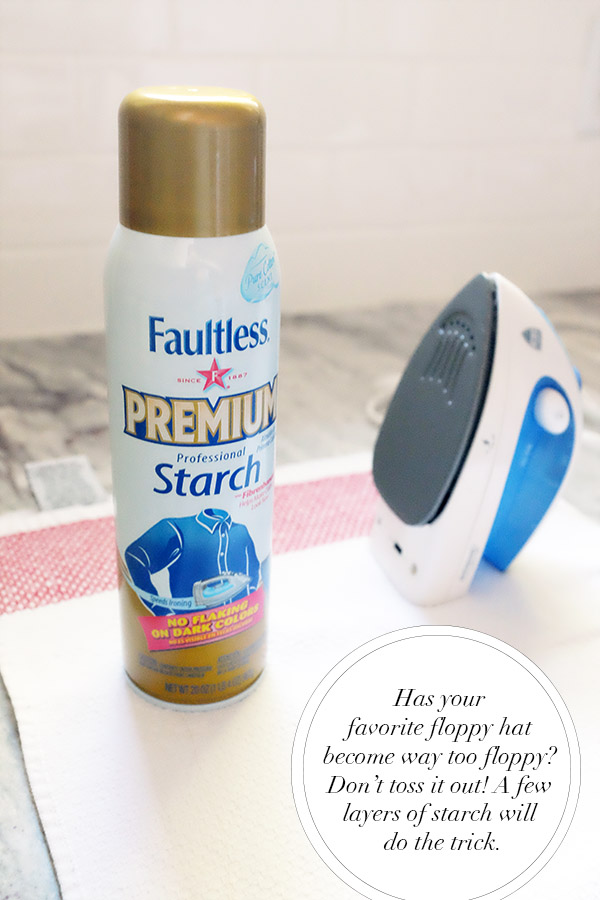
If your fave hat looks more like someone dropped a bucket of water on it, then maybe it could use a few layers of starch! This tip works ESPECIALLY well for WOOL hats to help them regain their strength, but it also helps beach hats a bit too!
For wool hats, set upside down in a bowl spray a couple layers of heavy starch on the underside of the brim and let dry. Turn over and do the same on top. Go around the brim of the hat with a medium hot iron for a few seconds and your hat will be as good, if not better than new! You can always start with one layer of starch and work your way up if you don’t want it too stiff.
Fabric beach hats can have the same method used on them as the wool hats with much success.
Straw and natural grass beach hats are trickier, but can gain a bit more body with several layers of starch spray and no iron. Dry completely flat before use.

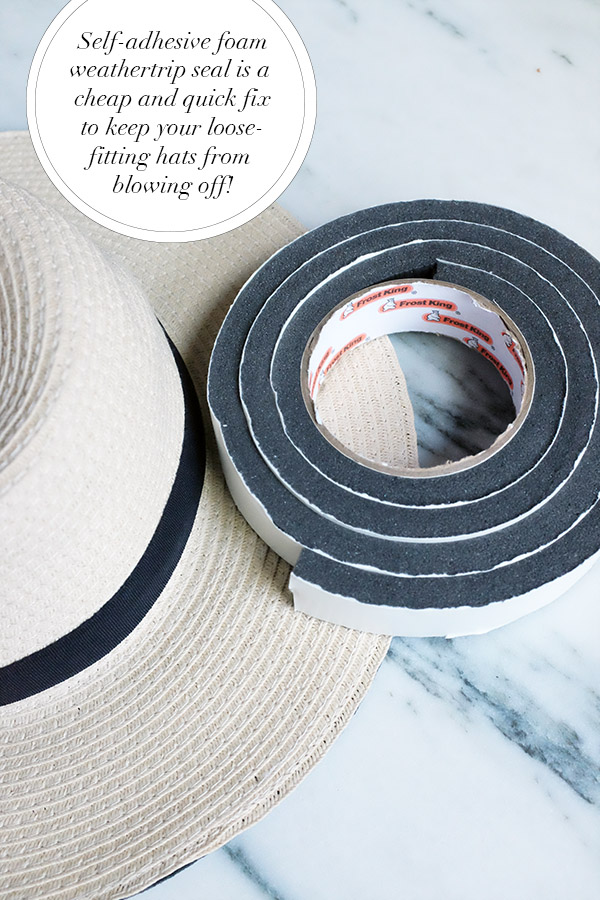
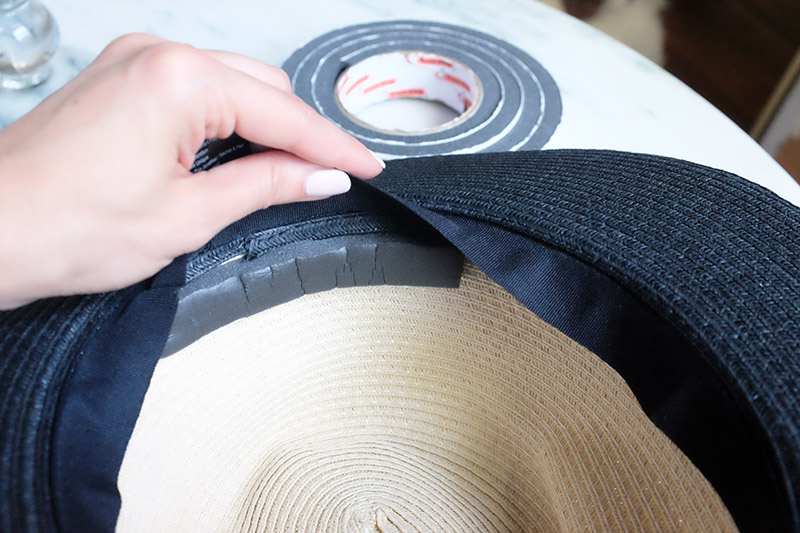
This is a cheap and easy way to get a custom fit for a larger hat! You can pick up Self Adhesive Weather Stripping at any home improvement store such at Lowe’s or Home Depot. It is a soft memory-type adhesive foam strip that you can easily apply to the inside of your hats to make them snug. There are several sizes and kinds. Around 1″ wide will suffice. (Just be sure to not get double sided.) One roll will last forever! Tip: Place the adhesive side under your hat’s ribbon sweat band. It will hold better and be more comfortable.
These are just a few things I’ve learned along the way. What tips do you have? What are your struggles? Any other ideas I should know about? I can’t wait to hear from you in the comments!

 My name is Catherine Kung and I am here to serve you your daily dose of eclectic, southern-inspired fashion with a side of clever ideas and lifestyle tips! You seem pretty fantastic... let's be friends, ok? Champagne and cake for everyone!


So smart! Thank you!!!
Sure thing, Laura! So glad to help!
So helpful! Thanks for sharing 🙂
So happy to help out Lys! xo
That storage tip is everything! I have been trying to figure out how to store my hats without taking up a ton of space or ruining them. If only I had a way to travel with them….
xx
A