Hey guys! Feeling crafty? This is a really fun (and easy) project to make ANY soirée with desserts or appetizers far more festive. There’s no reason to pay boutique prices and search high and low for the perfect cake stand when you can spend the afternoon getting creative! *Disclaimer: you do not need to be a ‘creative’ person to complete this project.
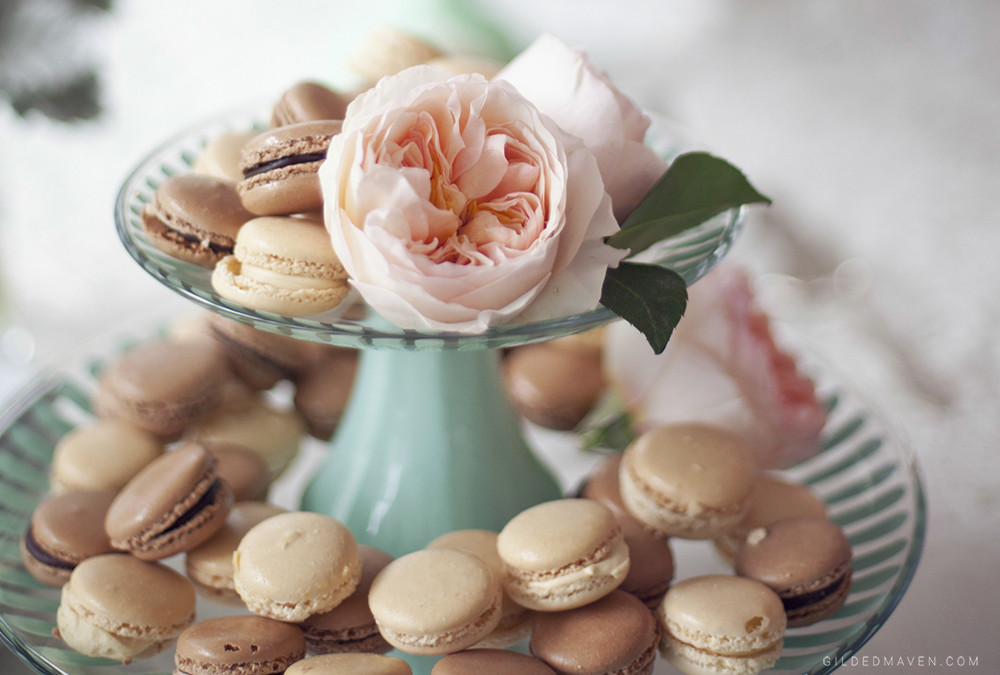
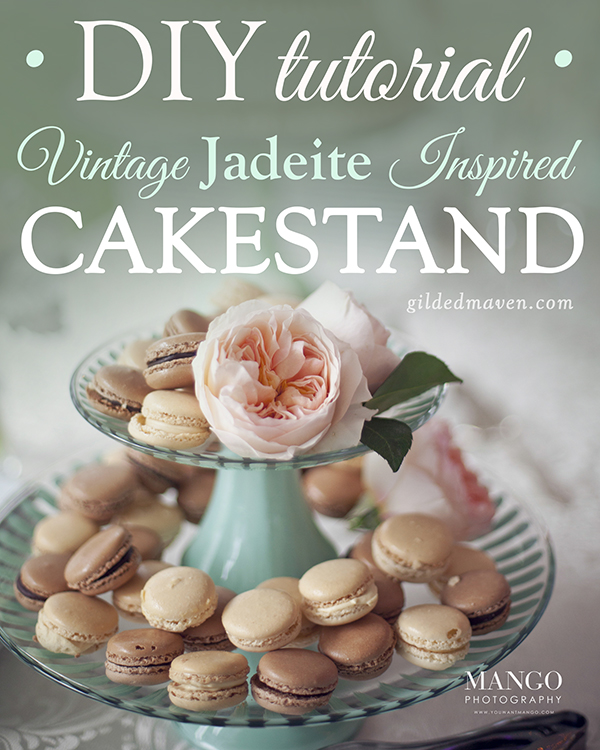
For our wedding I had a super cool vintage jadeite cake stand for our wedding cake, but I also had French macarons on the dessert table and I wanted something equally cute to put them on. Vintage jadeite is all the rage and I’m a sucker for it, but there was no way they were about to get the same crazy expensive treatment as THE cake. So I devised a plan with basic plain clear glass cake stands from the craft store and some ceramic enamel paints to create a coordinating look. This was just my reason – you can use multiple colors and designs (I’m trying metallic gold paint next!) to create your own fun project!
You will need:
A clear glass cake stand, a dry erase marker, enamel paints, & various paintbrushes
Simple enough, right?
I purchased my clear glass cake stands in the wedding aisle at good ‘ol Hobby Lobby. They range from $8 to $12 depending on the size and if they’re not on sale you can visit the Hobby Lobby website for a 40% off coupon making them cheap cheap.
Before you begin, wash and dry the stand being careful to not let oils from your skin get on the glass. The paints themselves dry relatively quickly, but take 3 weeks to ‘cure’. Don’t let that scare you. You can still gently use & handle the item as the paint will dry within several hours, but won’t be scrubbable or suitable for heavy use. After 21 days the item is technically top-rack dishwasher safe, but I still recommend gentle hand washing.
Important to keep in mind: paint is not food-safe. Do not paint on surfaces that will come into direct contact with food. We will be painting on the UNDERSIDE of the glass for this project so that the design shows through. Got it? Cool.
Craft stores all carry different brands of acrylic enamel paint. Below is a photo of what worked for me. If you want to achieve the same Tiffany blue/jadeite color I created, the recipe for the enamel paint is roughly four parts white, one part teal blue, and one part green.
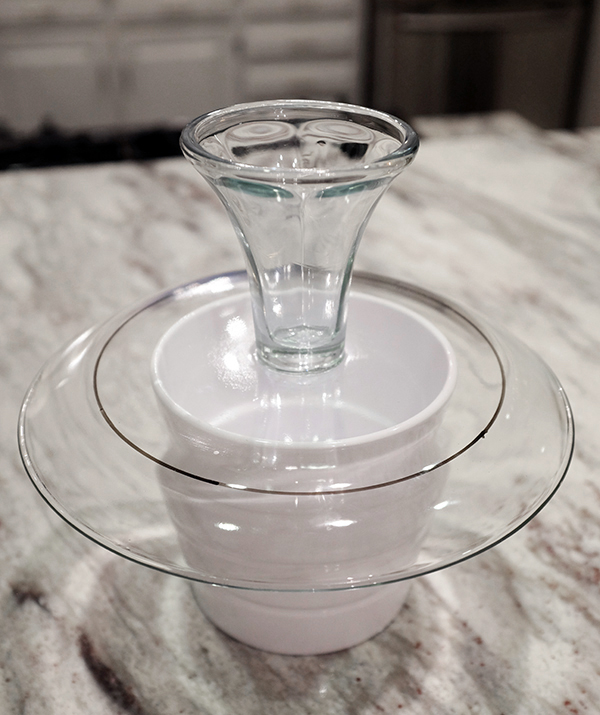
For my pattern, I helped myself out by using a dry erase marker on the top of the platter to draw a circle (I traced around a plate) to give myself a stopping point for the consistency of my pattern, then turned it over onto a flowerpot to make it easy to paint the underside. Using this approach, you can draw whatever you want on the top side to trace over! Oh the possibilities… just try containing yourself.
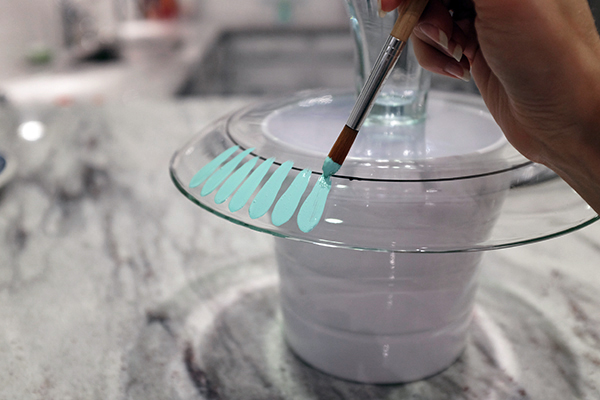
With one-stroke brushstrokes, I started at the edge and brushed upwards like I was creating flower petals all the way around. (You could even try polka dots. OMG POLKA DOTS!) Don’t overthink it or try to make each identical. You’ll go crazy. If something looks awful, just wipe it off with a damp paper towel and try again. You have a few minutes before it dries. After 30 minutes, you can lightly go over them one more time if the paint looks thin.
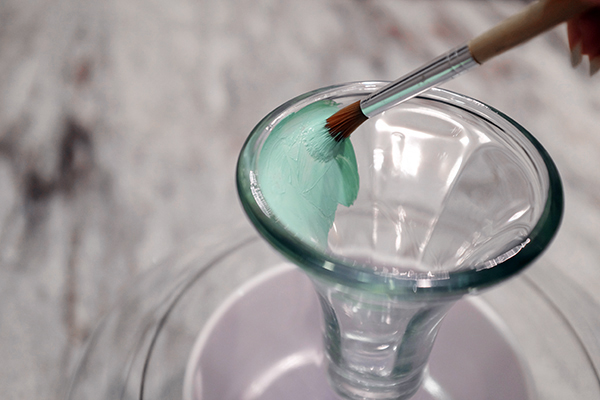
My cake stand had a hollow base, which is great because you can paint the inside with a color to make it look like jadeite glass from the outside! It takes two coats to be opaque. Let dry between coats. (I would recommend leaving it to dry for a few days upside down if you paint inside the base so air can reach it.) Turn it over, wipe off the dry erase marks on the other side and congratulate yourself for being so awesome.
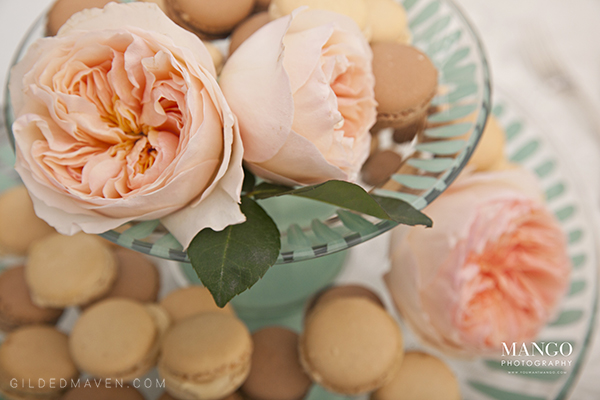
TA DAAA! Now go make a whole ARMY of cake stands in all sizes to stack for your next event so your friends & family will all proclaim you to be the next Martha Stewart. I mean seriously. Just think of the 100’s of cupcakes you’ll be making now to put on display for the simple fact that it will take the CUTEST photos. Or in my case, French Macarons. Xoxo




 My name is Catherine Kung and I am here to serve you your daily dose of eclectic, southern-inspired fashion with a side of clever ideas and lifestyle tips! You seem pretty fantastic... let's be friends, ok? Champagne and cake for everyone!
